

Every import is a tile in Settings › Import: Photo library, Apple Health, Google Timeline, Fog of World, Strava, FootPrint, Garmin & more, and GPX files. Each tile has that source’s steps and its import. Each one shows what it found before anything is added, and each appears in the list of imports afterwards: delete one there to take its places back off the map and out of your numbers. Files are read on your iPhone and never uploaded.
Menus in other apps move around. These steps were last checked in September 2026.
Photos
- Open Settings › Import › Photo library, or say yes when setup offers it.
- Waymark checks your library for photos with a location, and shows how many places it found, the dates they span and some of their names.
- Tap Add to my map. The places join your map and journeys, and the Map opens to show them.
Photos are places, not routes: in Journeys they sit on the days you took them, and on the map the import reads as Photo library with the years it spans, like 2016–2026. Only where and when each photo was taken is read. Photos are never copied or uploaded. If you gave Waymark access to selected photos only, change that in the iOS Settings app › Waymark › Photos.
Photos that aren’t yours
iOS doesn’t tell apps where a photo came from. A photo saved from Messages or AirDrop, or added to a Shared Library by someone else, looks just like one you took, so it lands on your map too. (Screenshots are skipped, and shared albums aren’t read.) To take one off:
- One photo: tap its pin on the map, or open it in a journey, then the remove button (a photo with a minus).
- Several: in a journey’s photos, tap Select, pick them, then Remove.
- A whole day: on a photo day, Remove all photos from this day.
Removing never deletes anything from your Photos library. The photo comes off your map, your journeys and your numbers, and later scans skip it. You can undo for 10 minutes, and Settings › Import › Photo library › Removed photos brings one back anytime.
Google Maps Timeline
- In Google Maps, tap your picture, then Settings › Location & privacy › Export Timeline data.
- Save the file to Files.
- In Waymark, open Settings › Import › Google Timeline, tap Choose a Timeline file and choose it.
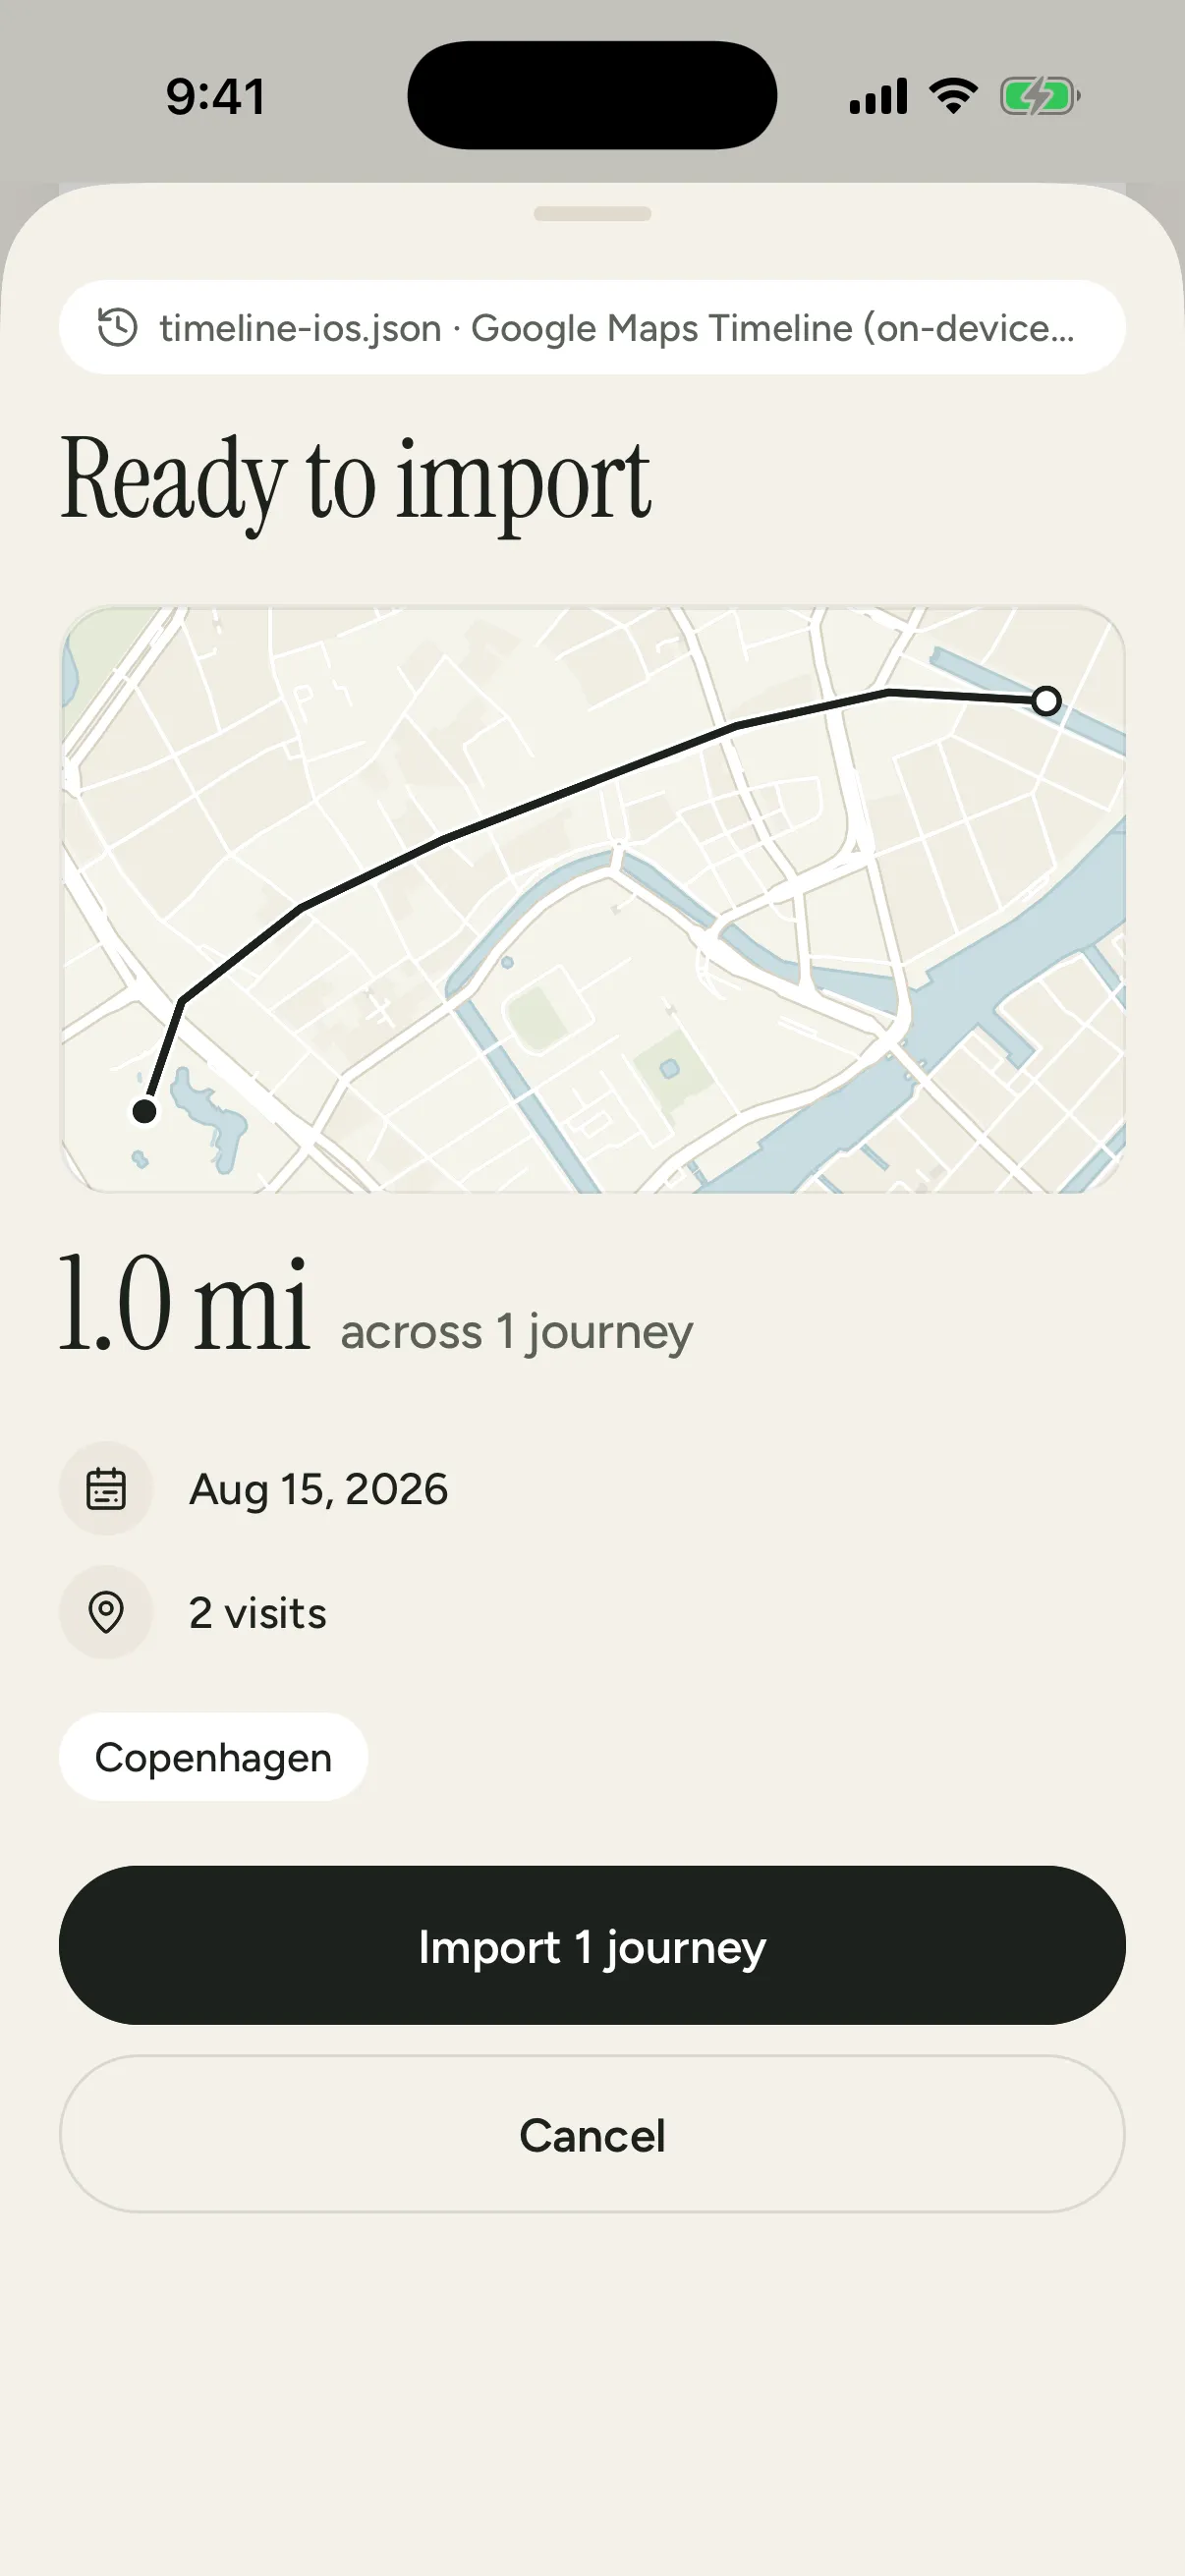
Older Takeout exports work a year at a time: unzip the export in Files, open Semantic Location History, then a year’s folder, and select all its months. Records.json is usually over the 50 MB limit.
Apple Health
- Open Settings › Import › Apple Health and tap Import from Health. Waymark asks to read your workouts and their routes, and nothing else.
- Walks, runs, rides and hikes with a route come in as dated journeys. Ones already in Waymark are skipped.
- Tap Import from Health again later to bring in only the workouts added since.
Workouts recorded on an Apple Watch arrive this way too.
No access, or the workouts are on another iPhone? In the Health app, tap your picture, then Export All Health Data. Unzip export.zip in Files and import the GPX files in workout-routes.
Strava
- On strava.com, open Settings › My Account, choose Get Started under Download your account, then Request download.
- Strava emails a link to a zip. Save it to Files. There’s no need to unzip it.
- In Waymark, open Settings › Import › Strava and choose the zip. Names, types and dates come from its activities.csv.
Virtual rides and runs stay out, and the archive’s photos aren’t read. One activity works too: pick its .gpx, .tcx or .fit file.
GPX, KML, GeoJSON and other route files
Settings › Import › GPX files reads GPX, FIT, TCX, KML and GeoJSON files, or a zip of them (Garmin & more and FootPrint have their own tiles with these steps). From the usual apps:
- Garmin Connect: on connect.garmin.com, open the activity, then the gear icon › Export Original or Export to GPX.
- Komoot: open the tour, then ⋯ › Export GPX. In the app it’s under Share.
- AllTrails: on alltrails.com, open the recording, then ⋯ › Download route › GPX track.
- FootPrint (一生足迹): update it first (GPX export came in version 2.0). Export your tracks as GPX one year at a time (Waymark can’t read its CSV export), save the files to Files, and import them a year at a time. Its map notes and photos stay behind.
Fog of World
- In Fog of World, sync to your cloud storage.
- In the Files app, open the Fog of World folder. On Dropbox and OneDrive it’s inside Apps.
- Touch and hold Sync, choose Compress, then choose Sync.zip in Settings › Import › Fog of World.
- No Compress in the menu? Copy Sync to On My iPhone and compress it there.
Fog of World keeps no times, so its paths arrive as one map in your journal and stay out of streaks and charts.
Places from before any of this
For trips that never left a file, the scratch map (the stamp button on the Map, or Scratch map under your passport on Progress) lets you mark countries and cities you visited before Waymark by hand. A place you explored can come off it too: tap it, and Waymark offers to remove what’s recorded inside it (Your data).